How to use WebRTC Phone in ICTBroadcast
ICTBroadcast presents its new WebPhone based on WebRTC with new features and a user-friendly UI for agents. Agents just need to go to their browser and log in as agents. Here you are watching the most feature-rich WebPhone. It allows agents to perform the following actions:

- Log in as Agent
- Agent status (Ready/Busy)
- Predictive/Manual modes
- Show Script
- Call on Hold
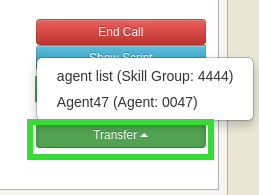
- Transfer Call to Another Agent
- Campaign List
- Contact List
- Script
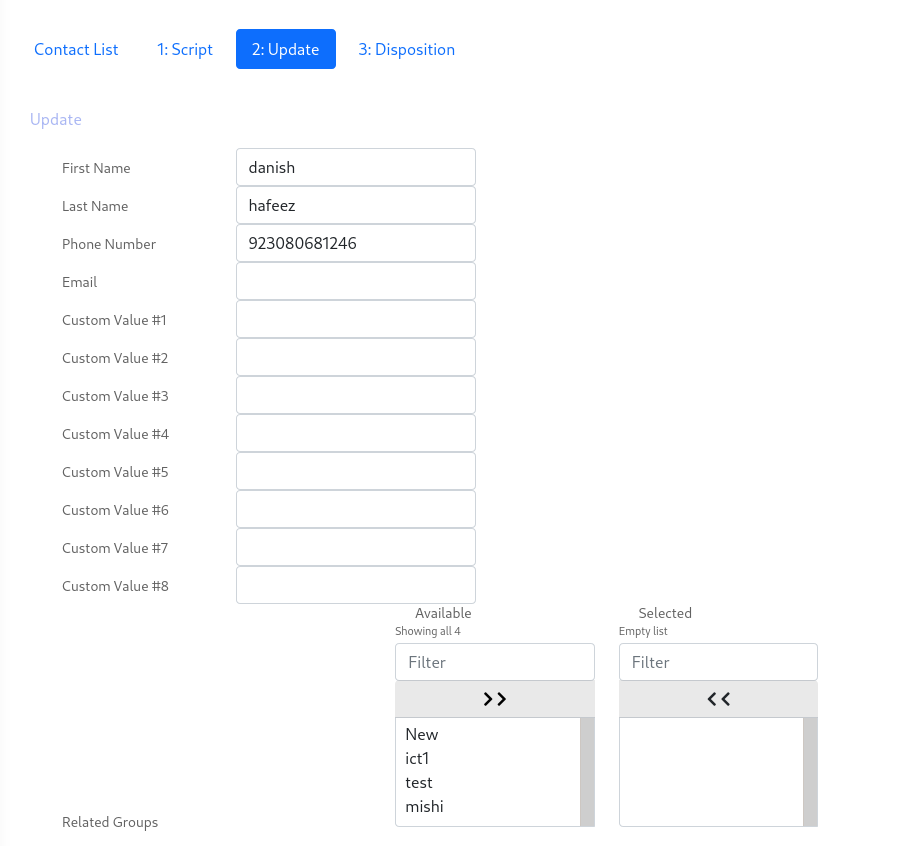
- Update Contact
- Disposition/Re-Schedule
Create Dialogue/Scripts for Agent
Admin can provide dialogue/script to agents to display for each prospect. Admin/User can set script functionality while creating campaigns by using Dialogue / Script options. First, they need to create the script.
How to Create Dialogue / Script in ICTBroadcast
In ICTBroadcast, click on Dialogue / Script under the Message menu. Then click on Create new.
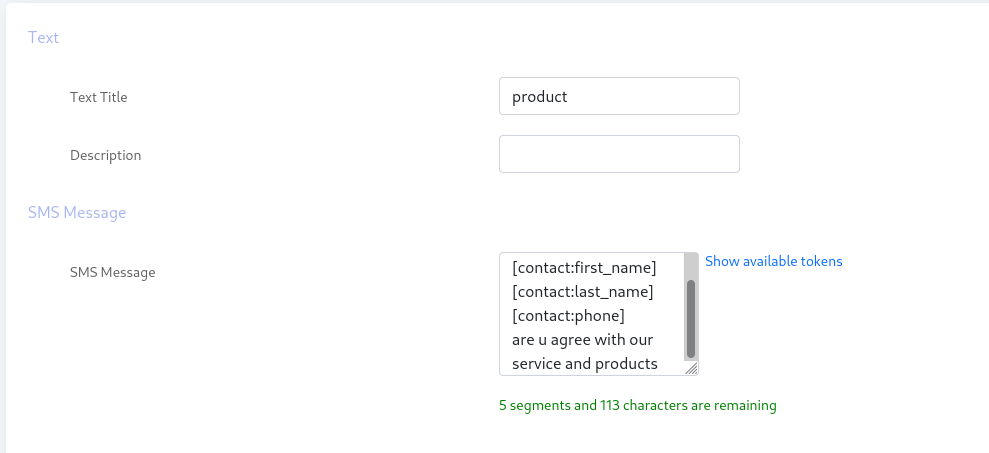
In the Dialogue / Scripts form, Dialogue name and Dialogue / Script fields are required, though Description is an optional field. Fill out the form’s fields and click Save. Note: Users can make a dynamic dialogue by using Tokens. To add tokens in dialogue, please click on Show available tokens.
How to Create New Campaign with Web-phone support
ICTBroadcast supports two integrated campaigns with WebPhone:
- Agent Campaign
- Interactive / Press 1 Campaign
To set up the above-mentioned campaigns, follow these steps:
- Add URL of CRM for a popup
- Select a suitable Dialogue
Add URL of CRM for a popup
When using WebPhone, Agent campaign and interactive campaigns can be configured to trigger a popup on the agent screen. The same URL should point to some CRM or other contact center. URL can be configured in the Contact URL field as shown in the following image. Users can also use contact tokens to build contact URL.

Select Dialogue / Script
In Agent Campaign / Interactive Campaigns, there is an option of Dialogue / Script under the General options section. Users can select the pre-created dialogue here.

Set Agent Status in WebRTC WebPhone
ICTBroadcast provides an option to change the status of an Agent. The agent can set their status as ready or not ready by selecting the appropriate status option from the Agent status box.
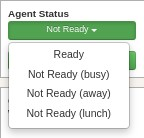
Note: An agent with ready status can receive, forward, or make calls.
Call Transfer in new WebRTC WebPhone
There is an option of Dialogue/Script under the general-options section in agent campaigns or interactive campaigns where users can select recently created dialogues.
Update Contacts
ICTBroadcast provides the option to update contact information. The agent can change/update contact information if required as shown below:
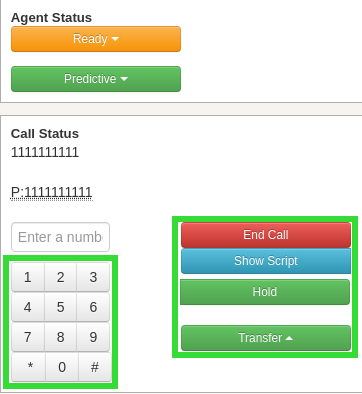
DTMF/NumPad
A useful numpad is provided along with the new WebPhone. The following is a list of usable main sequences that the agent will use for various purposes, e.g., 0 for Hangup. Press #1 for a call transfer.
Creating Personalized messages using custom tokens in SMS campaign
Steps to run a Press 1 campaign / interactive voice broadcasting
Note: Please configure/set up gateways/SIP providers, add contacts and voice recordings, and then follow these instructions. In the case of ICTBroadcast Service Provider Edition, please set up billing too.
Add and configure agents
- Visit https://your-domain.com/login.php?action=user
- Login as admin
- Create an extension in ICTBroadcast
Go to Administration menu -> Click on Agent / Extensions -> Click on New Extension button. Enter Agent Name, Agent Number, and Password, then click on Save button.
Create Queue / Skill Group
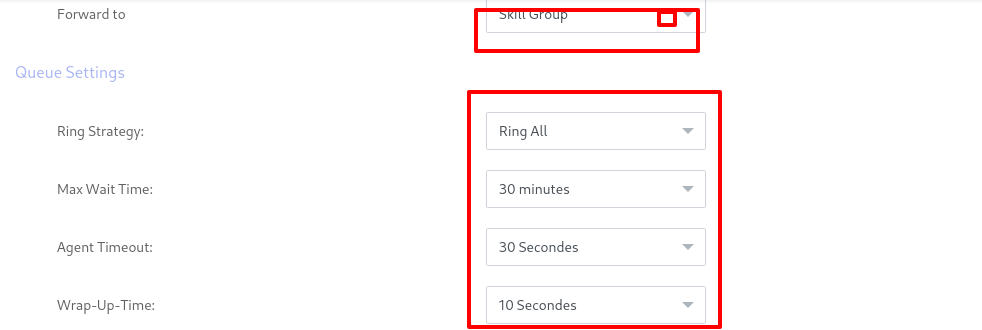
Go to the Administration menu -> Click on Agent / Extensions -> Click on New Extension button. Enter Agent Name, Agent Number, select Skill Group from Forward To, and select Agents for this Queue / Skill Group. Then click on the Save button.
Assign extension/Queue to user
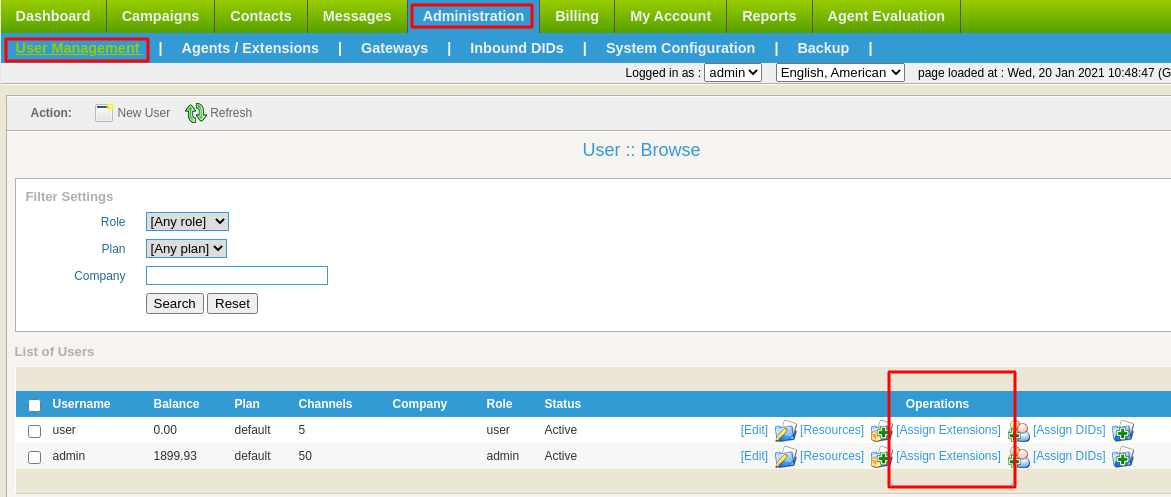
Go to the Administration menu -> User Management -> Click on Assign Extensions of any user under the OPERATIONS column. Select agents and skill groups and then click on the Assign button.
Login as Agent to Receive Calls in ICTBroadcast
If you want to log in as an Agent, use a different computer/browser and perform the following steps:
- Visit https://your-domain.com/login.php
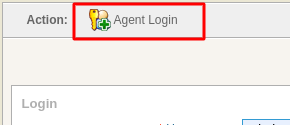
- Click on Agent Login
- Enter agent number and agent password
- Click on the ready button from the agent phone portal
- When the agent is ready, you can listen to music in the background
How to Start Interactive Campaign
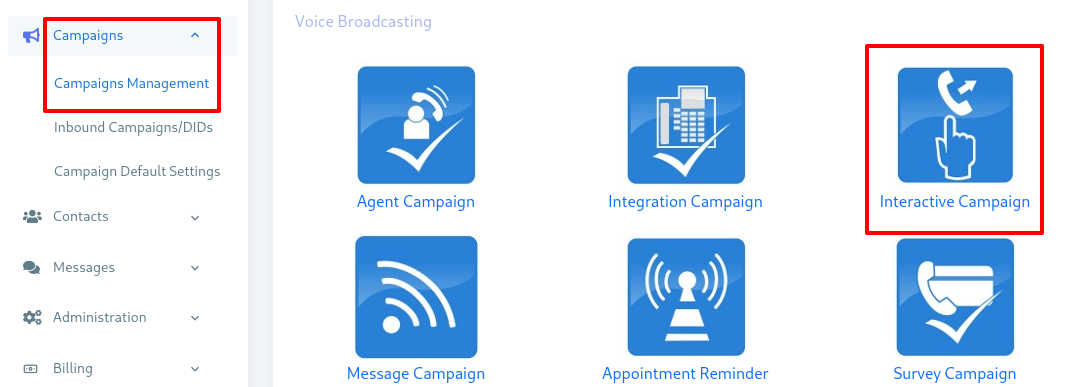
- Open the Navigation menu and select the main menu “Campaigns”.
- Select the submenu “Campaign Management” under the main menu and click on it.
- Click on the Add new button on the top right side. A page will open. Select the Interactive Campaign from it.
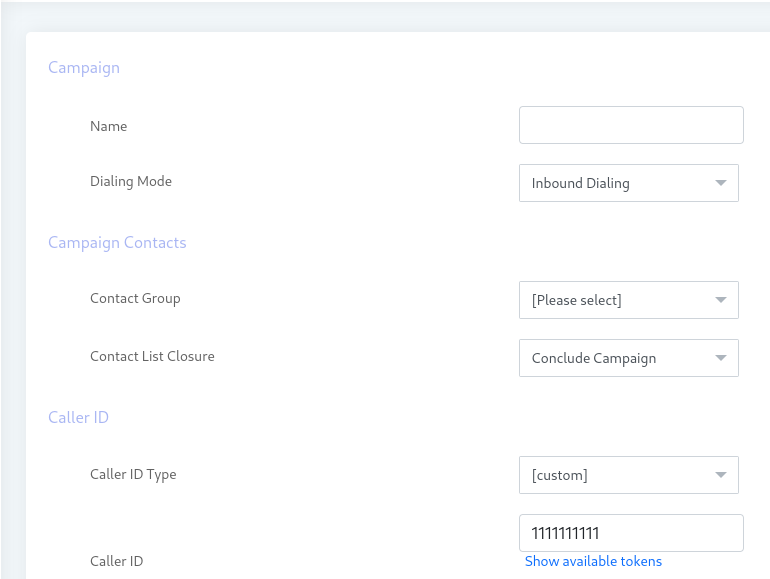
- Enter the required information in the desired field, such as the campaign name.
- Select the contact group and caller ID.
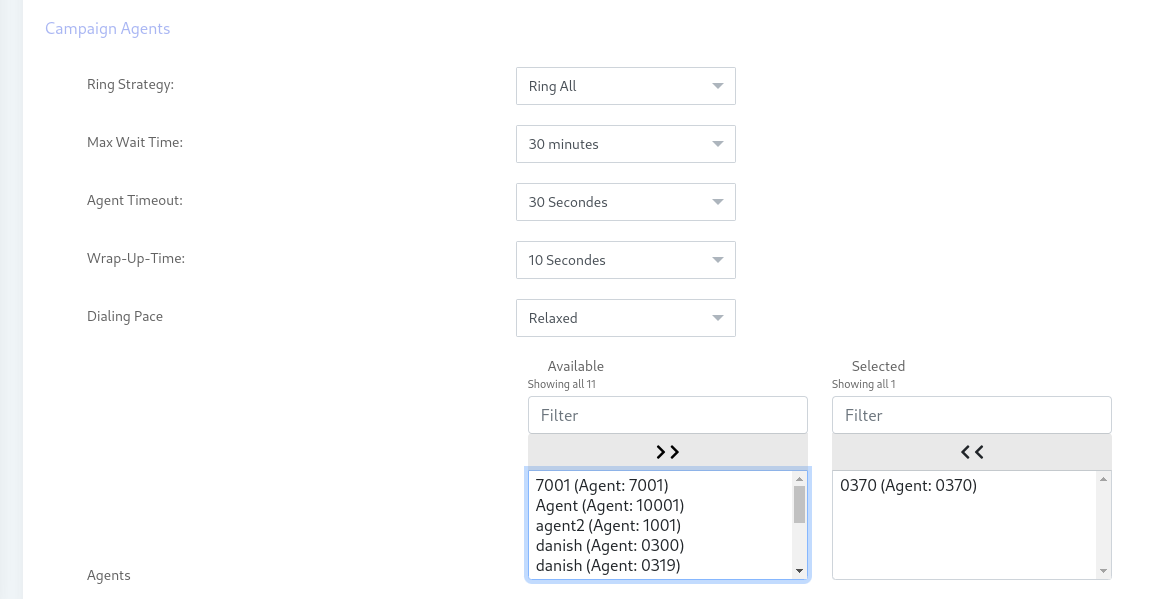
- Select the Agent to which the campaign will be assigned and the Agent campaign wrap-up timeout.
Related Links: