ICTBroadcast has an integrated billing system and allows real-time control of calls and campaigns according to available funds. To set billing/rate-plan following steps are listed below:
Add Regions
There is a list of regions available in the system if you need to add a new region specifically ICTBroadcast facilitates adding new regions. There are following steps are listed below:
Click on the Billing main menu, then click on the Regions menu.
A list of regions code and names will be available on the page as shown:
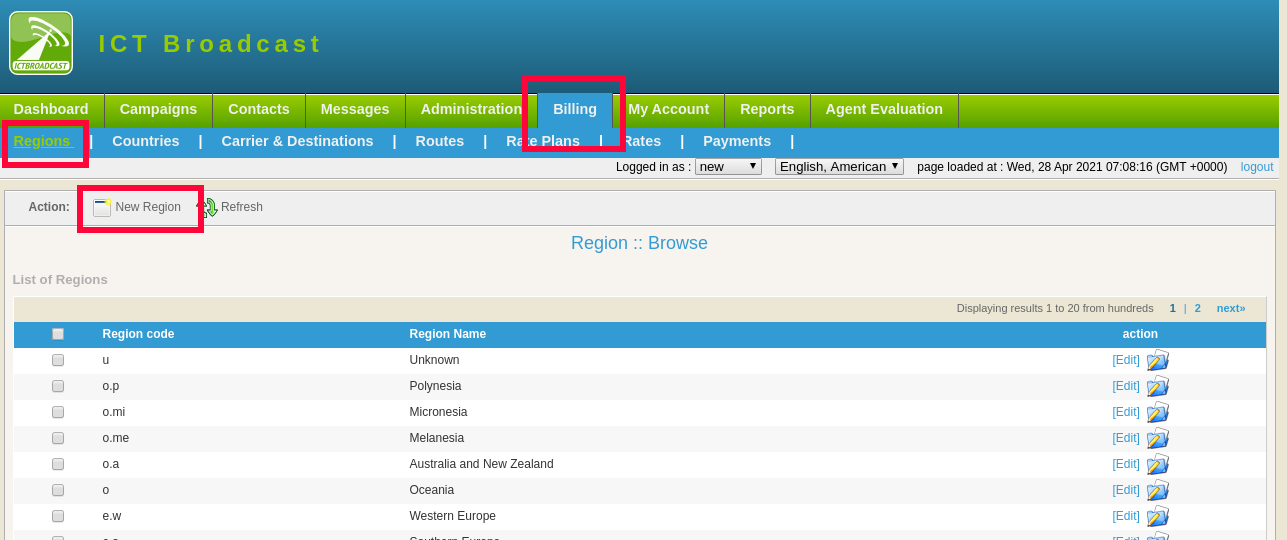
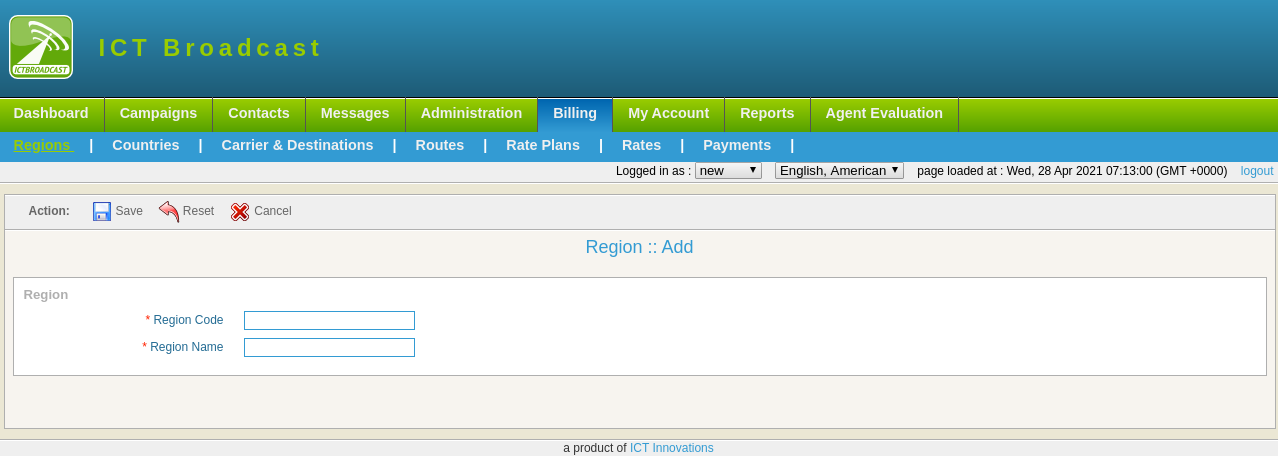
Click on the new region button, a new region form will open that contain the following fields:
Type region code and region name in the text box.
Click on the Save button, a new region will be added to the regions list.
Add Countries
Click on the Billing in the main menu, then click on the countries menu.
A list of countries’ names, dialing code, time zone available on the page.
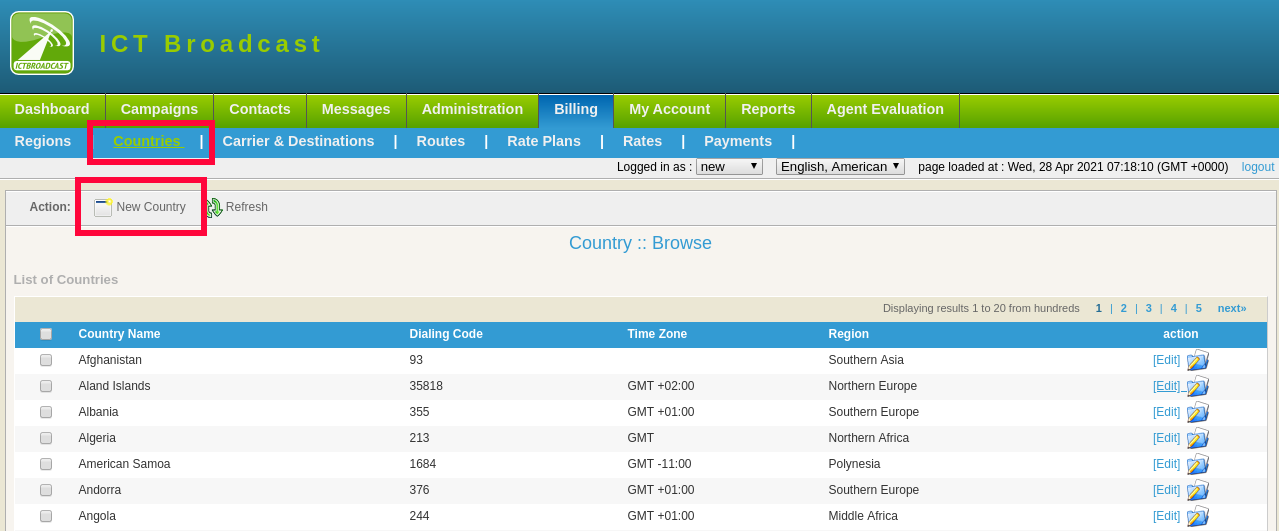
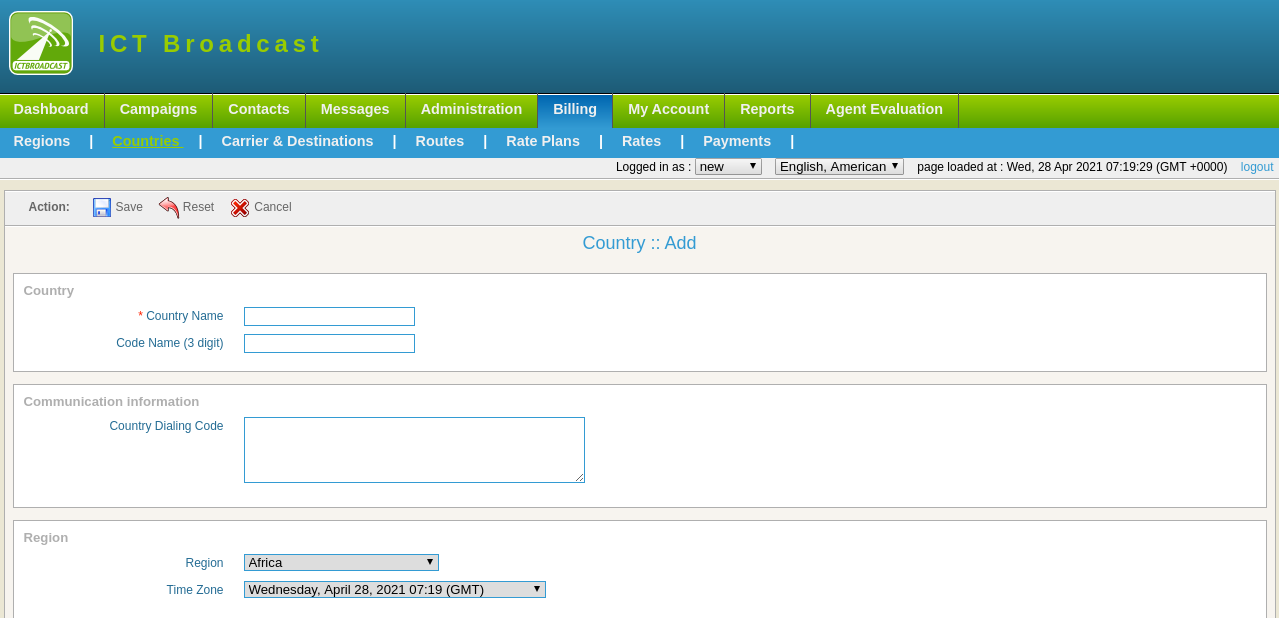
Click on the New Country button a new country form will open that contain the following fields:
Type country name and code name in the text box
Type country dialing code
Select region and time zone from the dropdown.
Click on the Save button, a new country will be added to the list.
Add Destinations
ICTBroadcast provides a complete route and rate management system. You can manage destinations, configure routes, and set destination rates. The following steps are listed below:
Admin can add, edit, delete any destination info from the list.
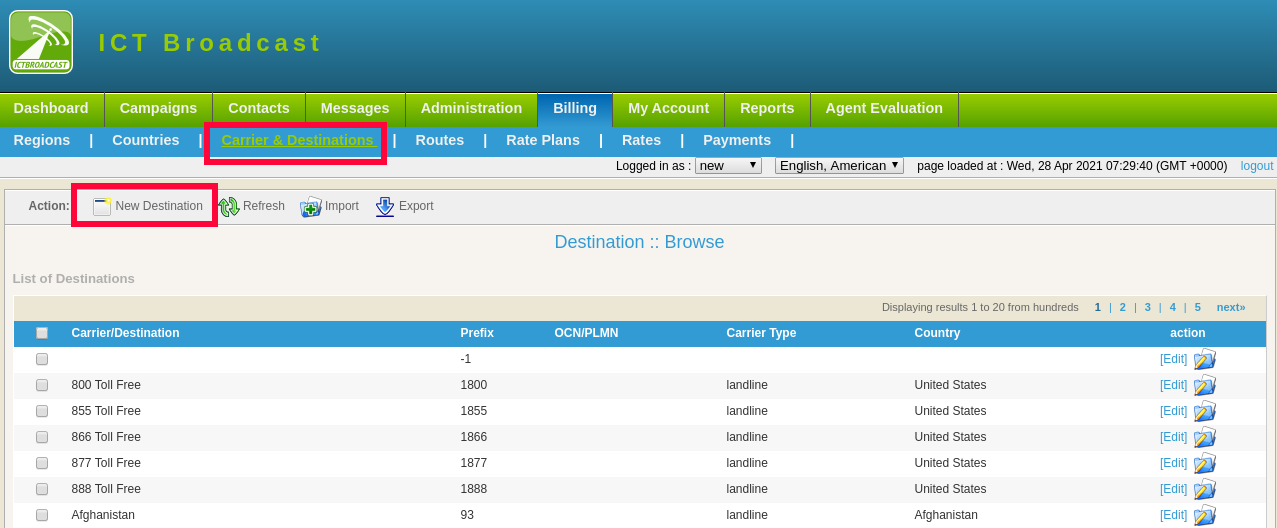
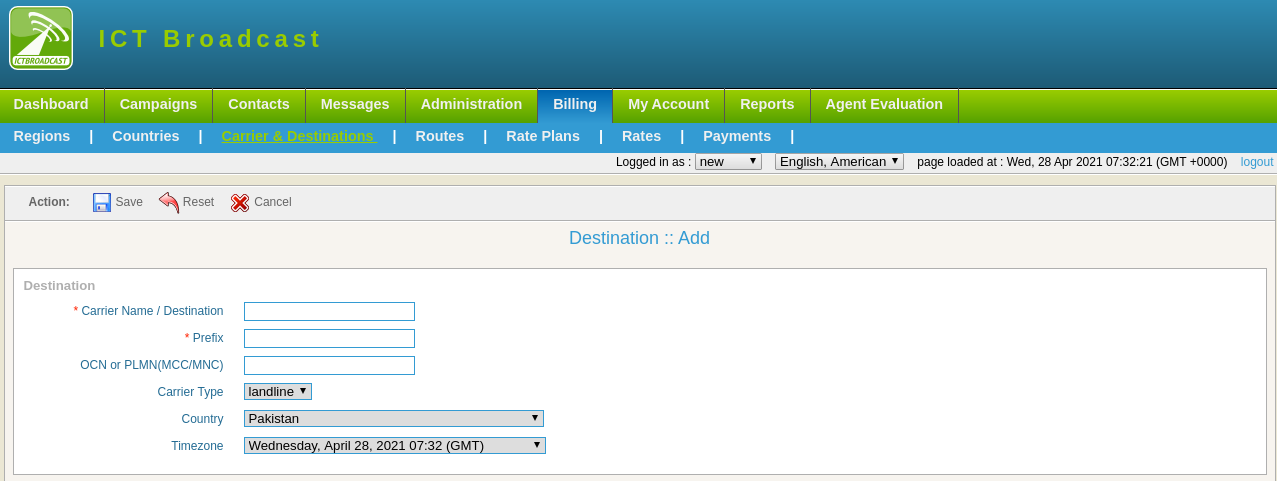
Click on the New Destination button, a destination form will open.
Fill in the required fields such as:
- Type Carrier Name/Destination in the text box
- Type prefix number in the text box
- Type OCN or PLMN (MCC/MNC) in the text box
- Select carrier type from the drop-down list
- Select country and time zone from the drop-down
- Click on the Save button, the new destination will be added to the list as shown
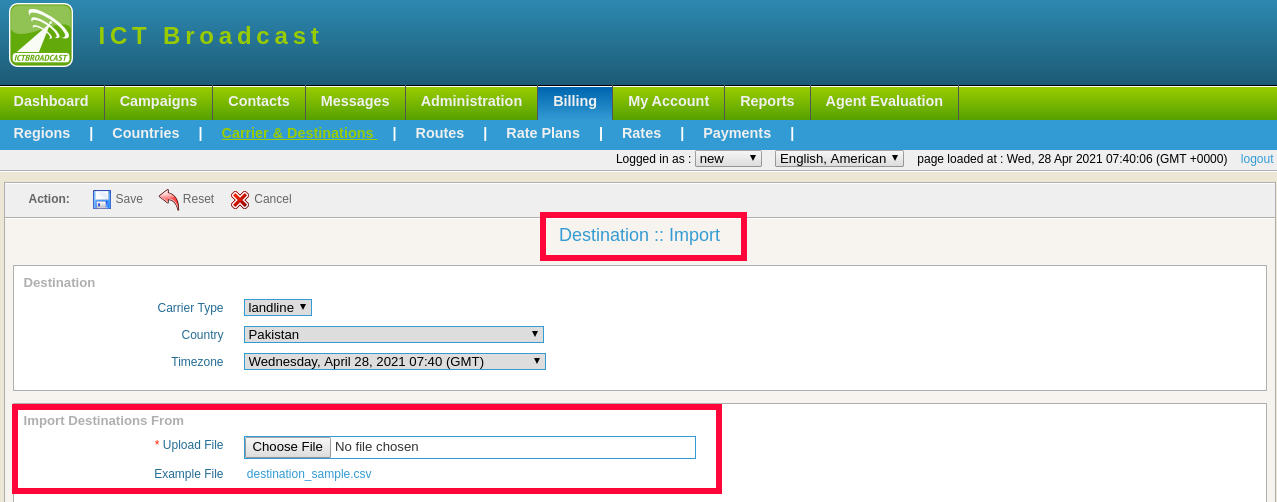
Click on the Import button to upload a list of destinations, a form will appear on the page fill the required fields such as:
Select carrier type from the drop-down list
Select country and time zone from the drop-down
Click on choose file button to upload a CSV file that contains the destinations list.
Click on the Save button, destination list will be added to the list as shown:
Add Trunks
SIP Providers / Trunks is basically a call originations and termination point. A trunk is an interface that enables users to connect with recipients using SIP networks.
Following are steps to add Trunks / SIP Providers
⦁ Open the navigation menu and select the main menu Administration
⦁ select the sub menu Gateway from main menu and click on it
⦁ Click on the New trunk button from Trunk list page
⦁ Add page will open, admin has to add/enter required information in desired fields
⦁ Enter trunk name, type and status
⦁ Further select the gateway type and add caller id
⦁ after that Add dial string and register string and save it
What are Routes
if multiples trunks are configured for different countries / destinations then admin can add routes of specific country/destination supported by said trunk as an example if trunk A is configured for USA and Trunk B configured for Canada then you can add routes of USA against Trunk A and add routes for Canada for Trunk B and ICTBroadcast setup will contacts accordingly
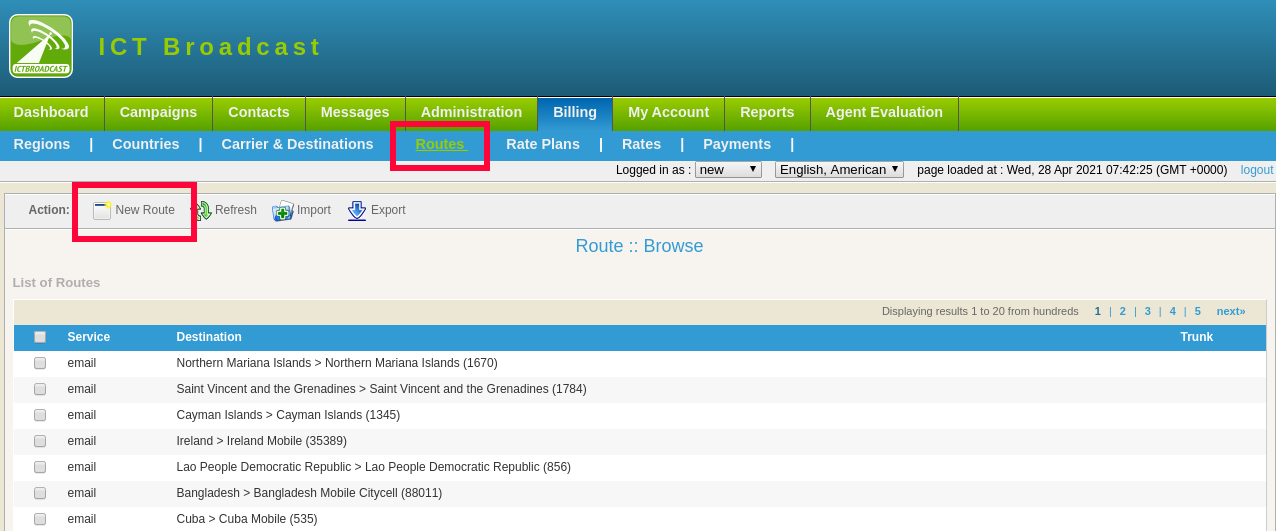
Add Routes
Following are steps to add routes:
Click on the Billing main menu, then click on the Routes menu. A list of routes, services, destinations, and trunks available on the page.
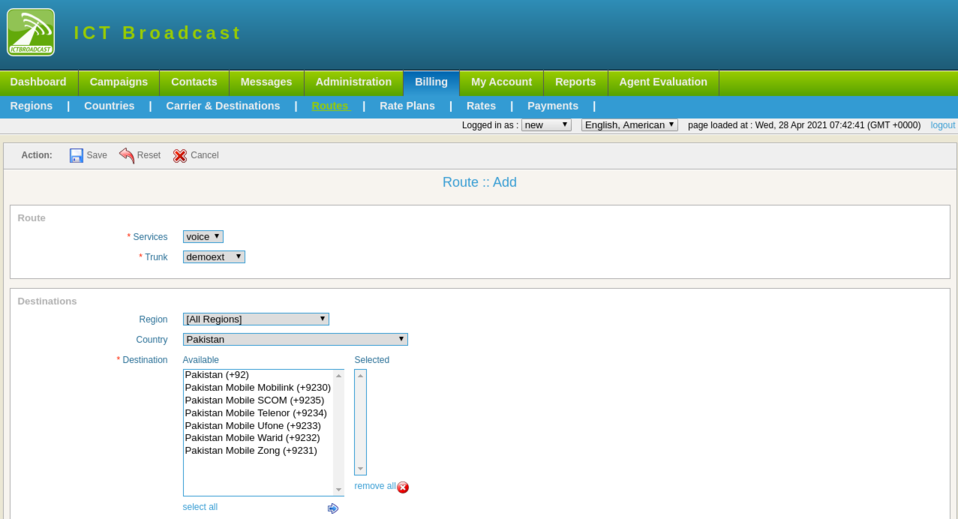
Click on the new Route button, a route form will open with required fields such as
- Select services and trunk from drop-down
- Select region and country from the drop-down
- Select destination from the available list
- Click on the Save button, the new route will be added to the list of routes as shown
What are Rate Plans
Rate plans are used to create different set of rates of countries / destinations and assign these Rate Plans to Tenants / Users as per requirement as an example if admin like to assign rate A of specific destination to tenat A and assign rate B of same destination to Tenant B, admin will create different Rate Plans and assign these Rate Plans to Tenants / Users accordingly.
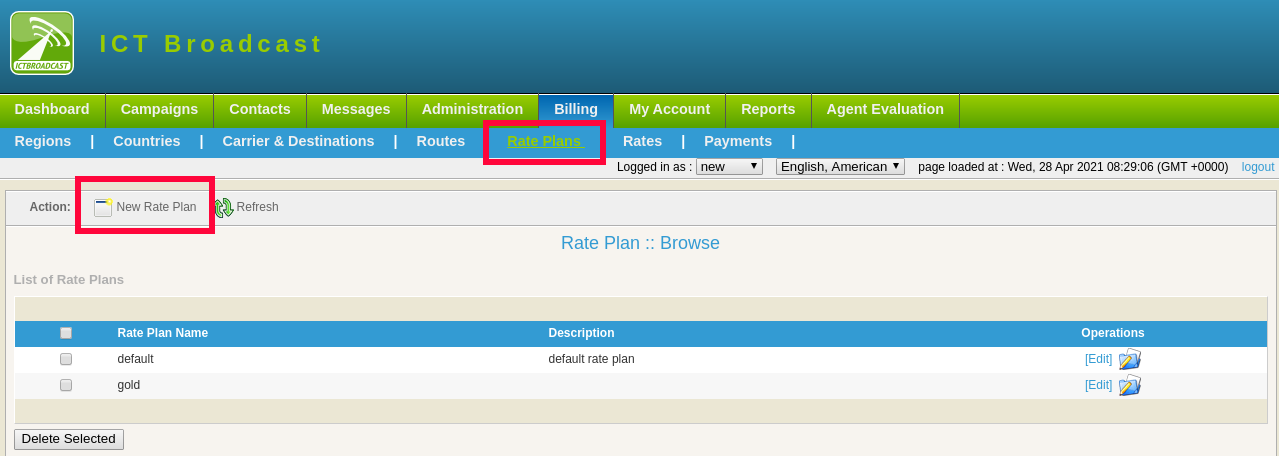
Add Rate Plans
Following are steps to add Rate Plans.
Click on the Billing main menu, then click on the Rate Plans menu. A list of rate plans and descriptions available on the page.
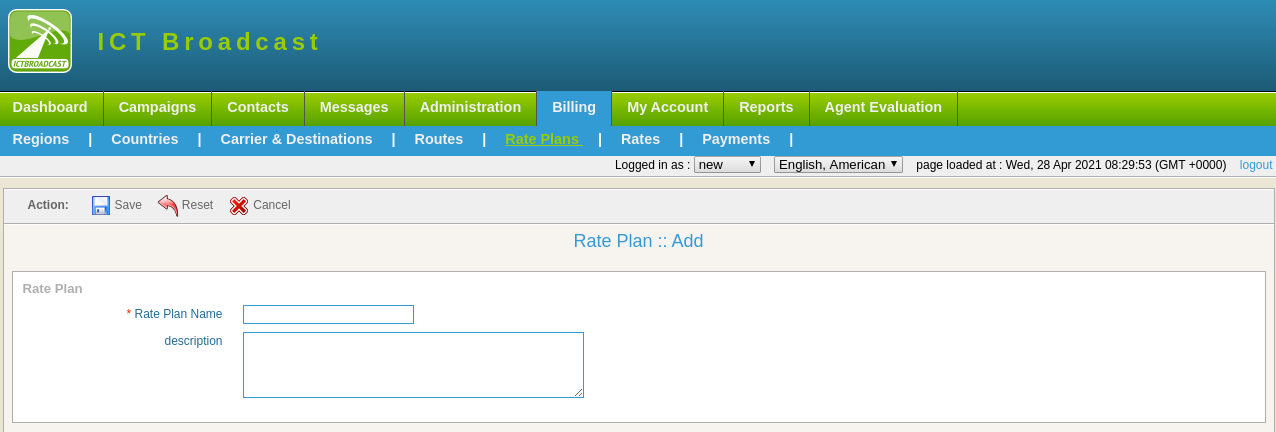
Click on New Rate Plan button, a rate plan form will open with required fields such as:
Write Rate Plan Name in the text box
Write Description about rate plan in the text box
Click on the Save button, new rate plan will be added to the list of rate plans as shown.
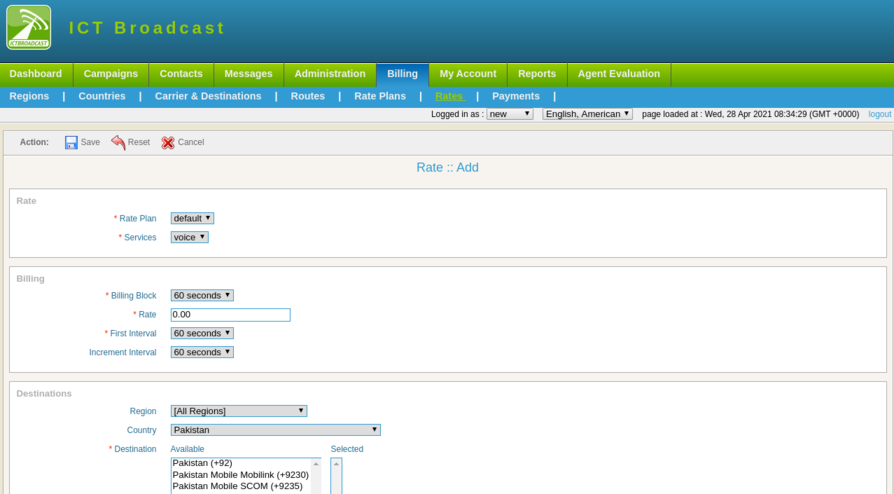
Add Rates
Click on billing the main menu, then click on rates menu, A list of rates plan, service, destination, and rates available on-page.
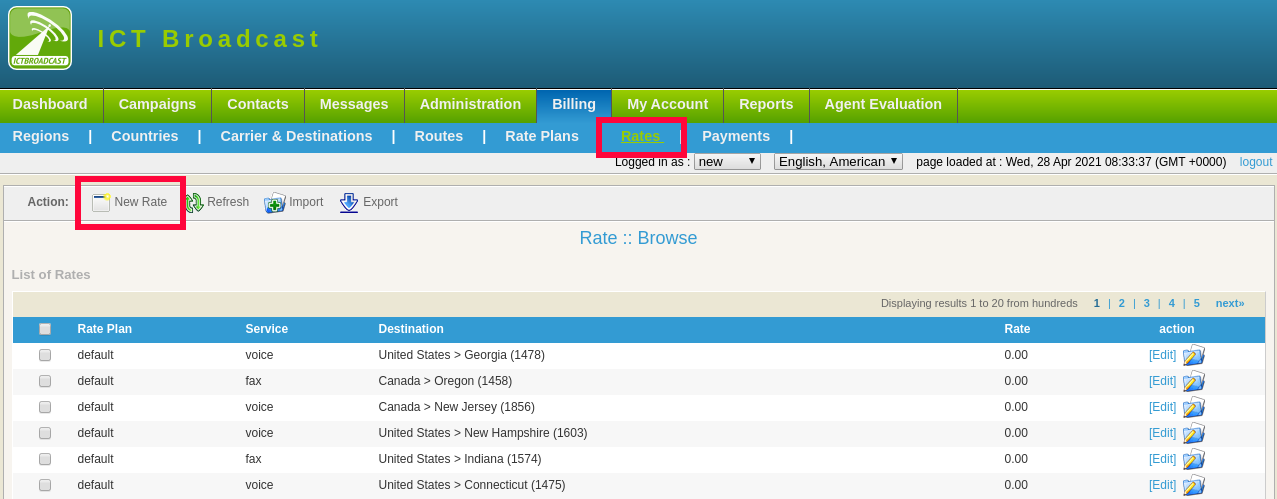
Click on the new rate button, a rate form will open with required fields such as:
- Select rate plan and services from the drop-down
- Select Billing block from the drop-down
- Set new rate in the text box
- Select the first interval of call charges from drop-down
- The select incremental interval of call charges from drop-down
- Select region and country from the drop-down
- Select destination from the available list
- Click on the Save button, new rate information will be added to the list of the rate as shown